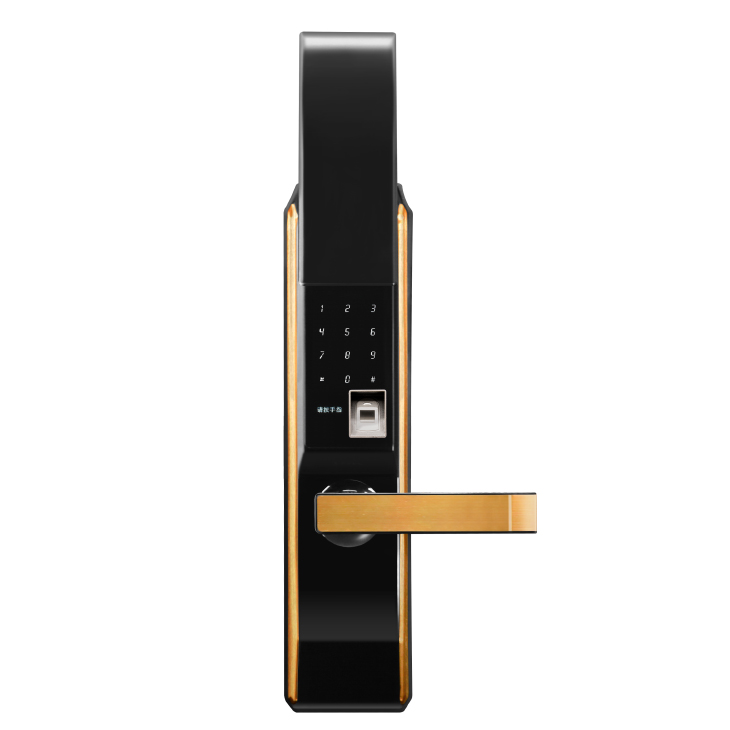
Installing and setting up a smart lock can be a straightforward process when following the right steps. This article provides a step-by-step guide to help you properly install and set up your smart lock for optimal performance and security.
Step 1: Check Compatibility Ensure that your smart lock is compatible with your door type and existing hardware. Some locks are designed for specific door setups.
Step 2: Gather Tools Collect the necessary tools for installation, including a screwdriver, tape measure, and any additional hardware provided with the smart lock.
Step 3: Remove Existing Lock If necessary, remove your existing lock and prepare the door for the new smart lock installation.
Step 4: Install the Smart Lock Follow the manufacturer’s instructions to install the smart lock on your door. Make sure to securely attach the lock and align it properly.
Step 5: Connect to Power Depending on the lock type, connect the lock to a power source, such as batteries or wired power.
Step 6: Download the App Download the accompanying smartphone app for your smart lock. Follow the app’s instructions to create an account and connect the lock to your app.
Step 7: Set Up Access Codes Set up access codes for yourself, family members, and guests. Some smart locks also offer temporary codes for specific time frames.
Step 8: Test the Lock Test the lock’s functionality by locking and unlocking it using the app and access codes. Ensure that all features are working as intended.
Step 9: Configure Smart Home Integration If desired, connect the smart lock to your smart home platform and configure any automation routines or voice control settings.
In Conclusion Installing and setting up a smart lock involves checking compatibility, gathering tools, removing existing locks, installing the smart lock, connecting to power, downloading the app, setting up access codes, testing the lock, and configuring smart home integration. Following these steps ensures a successful installation and setup process.


